Jan 27, 2025
8 min read
A Beginner’s Guide to 3D Modeling in Blender
Blender is a powerful and free 3D modeling software used for creating everything from characters and animations to architectural designs and game assets. While it might seem complex at first, understanding the basics makes the learning curve much smoother.
This guide will walk you through the fundamentals of 3D modeling in Blender, covering the interface, essential tools, and key techniques to get you started.
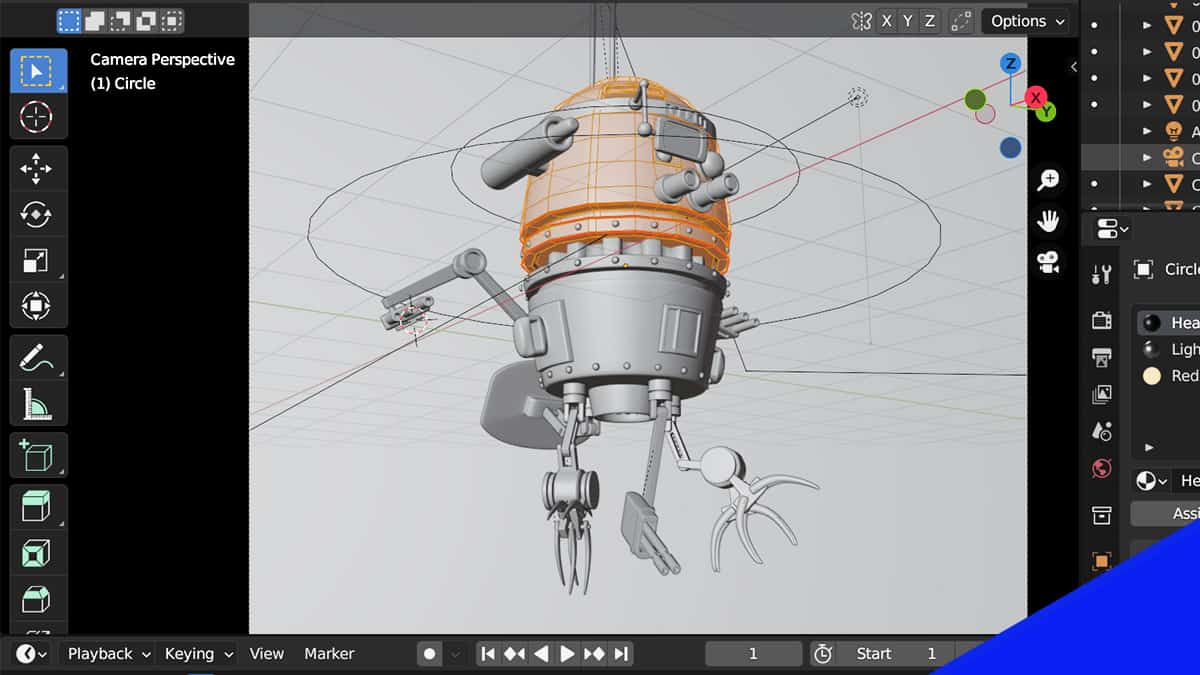
1. Understanding Blender’s Interface
Before diving into modeling, it’s essential to familiarize yourself with Blender’s workspace. The key areas include:
🔹 Viewport:
The main 3D workspace is where you create and manipulate objects.
Navigation:
Middle Mouse Button (MMB) + Drag → Rotate the view
Shift + MMB + Drag → Pan the view
Scroll Wheel → Zoom in and out
🔹 Toolbar (T Key):
Contains tools like Move, Scale, Rotate, and various modeling functions.
🔹 Outliner Panel:
Lists all objects in the scene for easy organization.
🔹 Properties Panel:
Controls object properties, materials, modifiers, and rendering settings.
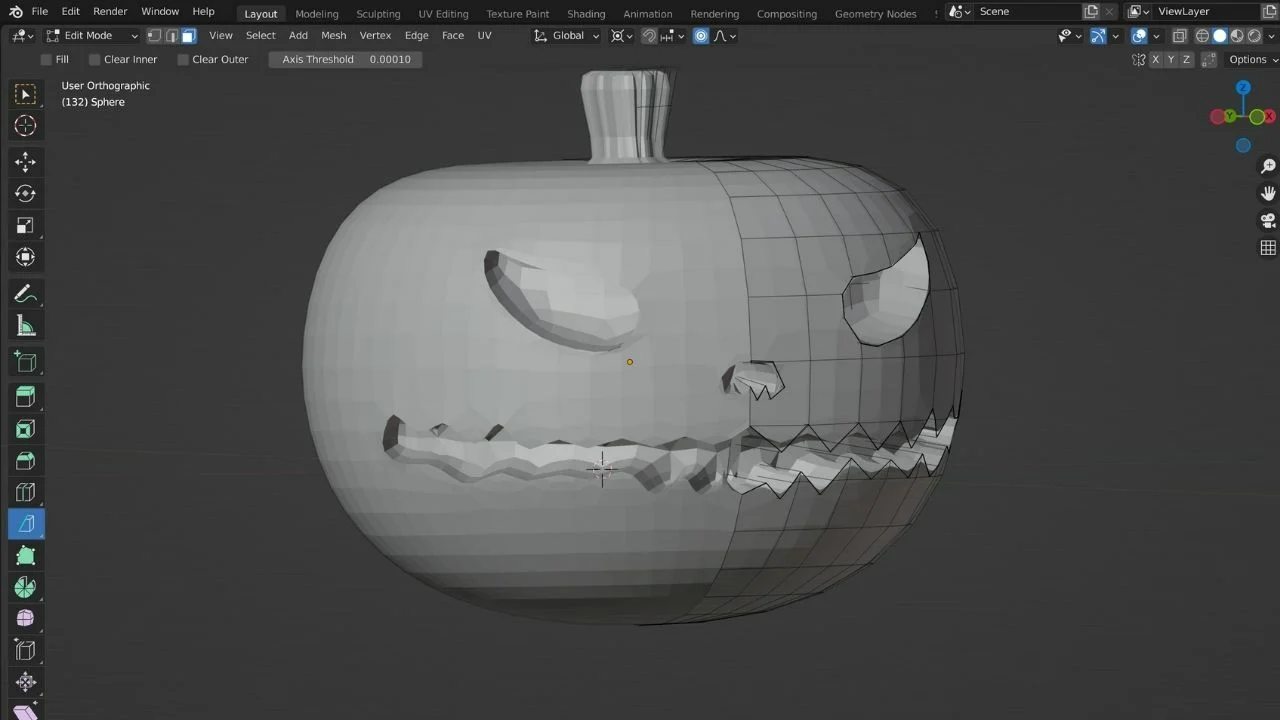
🔹 Object & Edit Modes:
Object Mode: For moving and managing entire objects.
Edit Mode: For manipulating an object’s vertices, edges, and faces.
💡 Tip: Press Tab to switch between Object Mode and Edit Mode quickly.
2. Basic 3D Modeling Techniques
Once comfortable with the interface, you can start building models. Most modeling in Blender starts with basic shapes (primitives) like cubes, spheres, and cylinders, which are then transformed into complex designs using various tools.
🔹 Essential Modeling Tools:
1. Extrusion (E Key)
Creates new geometry by pulling out faces.
Example: Start with a cube and extrude its top face to form a building structure.
2. Scaling (S Key)
Resizes an object or its parts.
Example: Scale down one part of a cylinder to create a tapering effect for a bottle.
3. Subdivision (Ctrl + 2 for Subdivision Modifier)
Smooths an object by adding more geometry.
Example: A low-poly sphere can be subdivided to create a high-poly, smooth sphere.
4. Loop Cuts (Ctrl + R Key)
Adds extra edges to refine details.
Example: A loop cut on a cube can create a division for bending or shaping.
5. Boolean Operations
Combines or subtracts objects from one another.
Example: Use a cylinder to cut a hole through a cube.
💡 Tip: Combine these techniques to create more complex and detailed models.
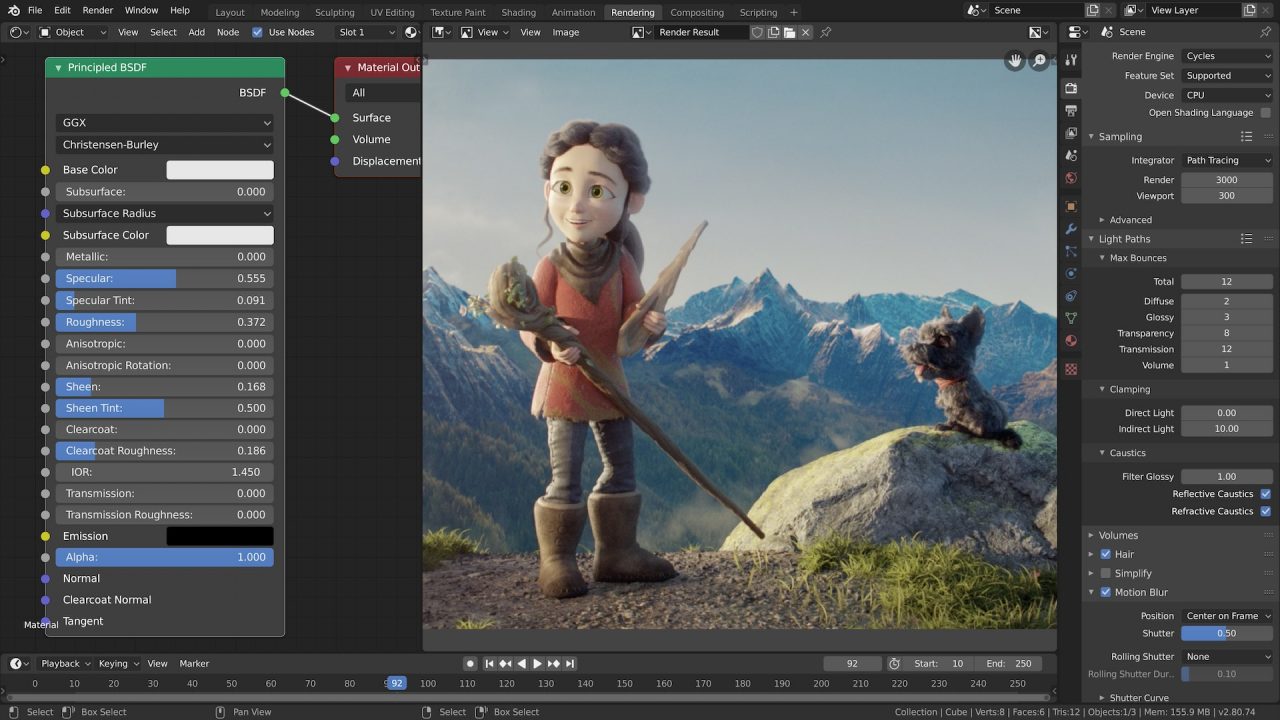
3. Texturing and Materials
Adding textures and materials makes 3D models visually appealing. Blender’s Shader Editor allows you to create realistic materials.
🔹 Basic Steps for Adding Materials:
Go to the Materials Tab (Properties Panel).
Click “New” to add a material.
Adjust Base Color, Roughness, and Metallic properties.
Use Image Textures (like wood, metal, or fabric) for realism.
💡 Tip: Use UV Unwrapping (U Key in Edit Mode) to properly map textures onto models.
4. Lighting and Rendering
Lighting and rendering give your model the final realistic look.
🔹 Basic Lighting Types:
Point Light – Like a lightbulb, emits light in all directions.
Sun Light – Simulates natural sunlight.
Spot Light – Focused beam of light, useful for highlighting objects.
Area Light – Provides soft, diffused lighting for a more natural effect.
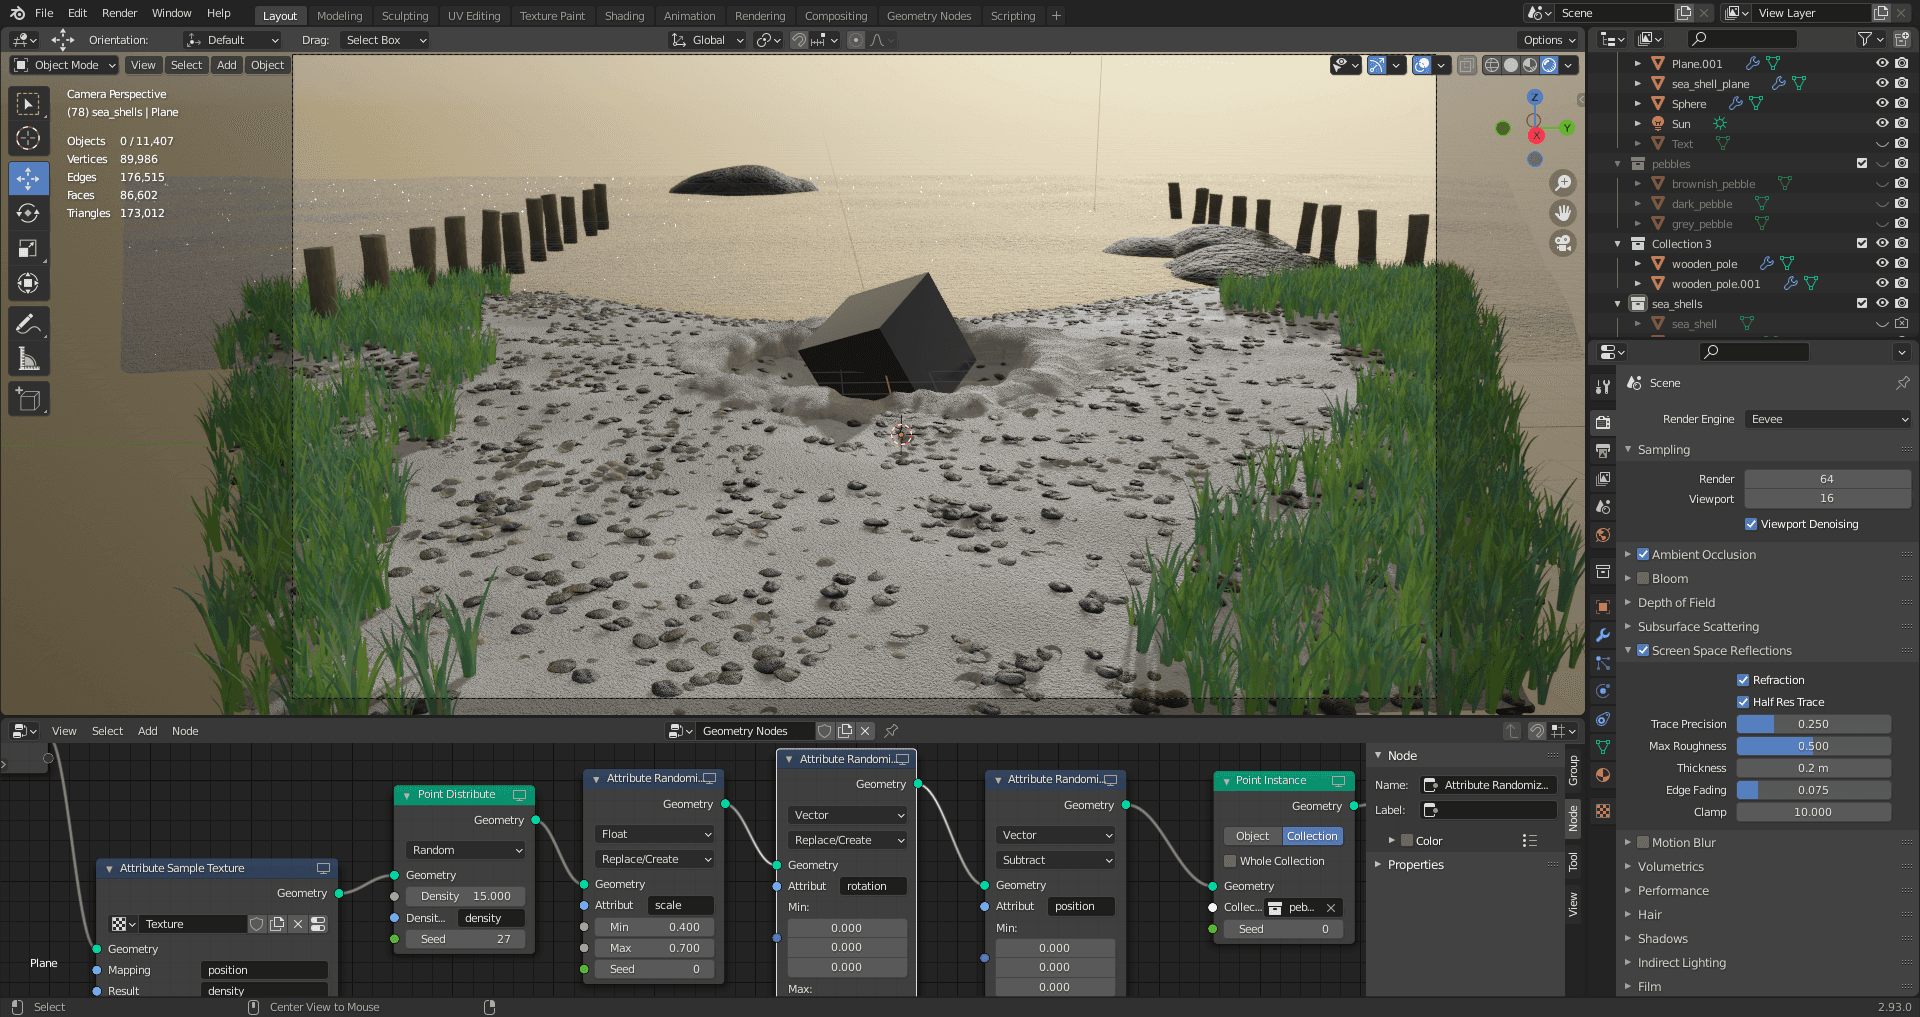
🔹 Rendering Your Model:
Blender has two main render engines:
Eevee (Fast real-time rendering)
Cycles (Physically accurate, more realistic)
Set up a camera (Numpad 0 to view from the camera) and adjust angles.
Press F12 to render an image.
💡 Tip: Use HDRI (High Dynamic Range Images) for realistic environmental lighting.
5. Animation Basics in Blender
Blender excels in animation, allowing you to bring your models to life.
🔹 Keyframing (I Key):
Records an object’s position, rotation, or scale at different frames.
Example: Animate a bouncing ball by setting keyframes for its movement.
🔹 Physics Simulations:
Simulates real-world effects like gravity, cloth movement, and fluid dynamics.
Example: Use Rigid Body Physics to create a falling tower of blocks.
💡 Tip: Use the Graph Editor to refine motion curves for smooth animations.
6. Applications of Blender in Different Industries
Blender is used in various creative fields, making it an invaluable tool:
🎮 Game Design – Creating assets for video games.
🏛️ Architectural Visualization – Designing and visualizing buildings.
🎬 Animation & VFX – Producing animated films and visual effects.
🛍️ Product Design – Prototyping and showcasing 3D models of products.
With Blender’s versatility and free access, anyone can develop professional-grade 3D models and animations.
Conclusion: Mastering Blender with Practice
Learning Blender takes patience, but by practicing basic modeling, texturing, and animation techniques, beginners can quickly improve.
Beginner-Friendly Exercises:
✅ Model a simple house using cubes and extrusions.
✅ Create a coffee cup with a handle using loop cuts and scaling.
✅ Animate a bouncing ball with keyframes.
🔹 Final Tip: Follow online tutorials, experiment, and join Blender communities for support. With time, you’ll be able to create stunning 3D artwork! 🚀